
How to Translate Your Book With the Global Book Translator
A complete guide to launching your book in another language: localize your title, translate the manuscript, review the notes and push it to the Writing Studio.
Quick Start
The Translation Expert in Step 8 · EXPAND helps you launch in multiple languages. You can launch your finished English book in another language in six steps.
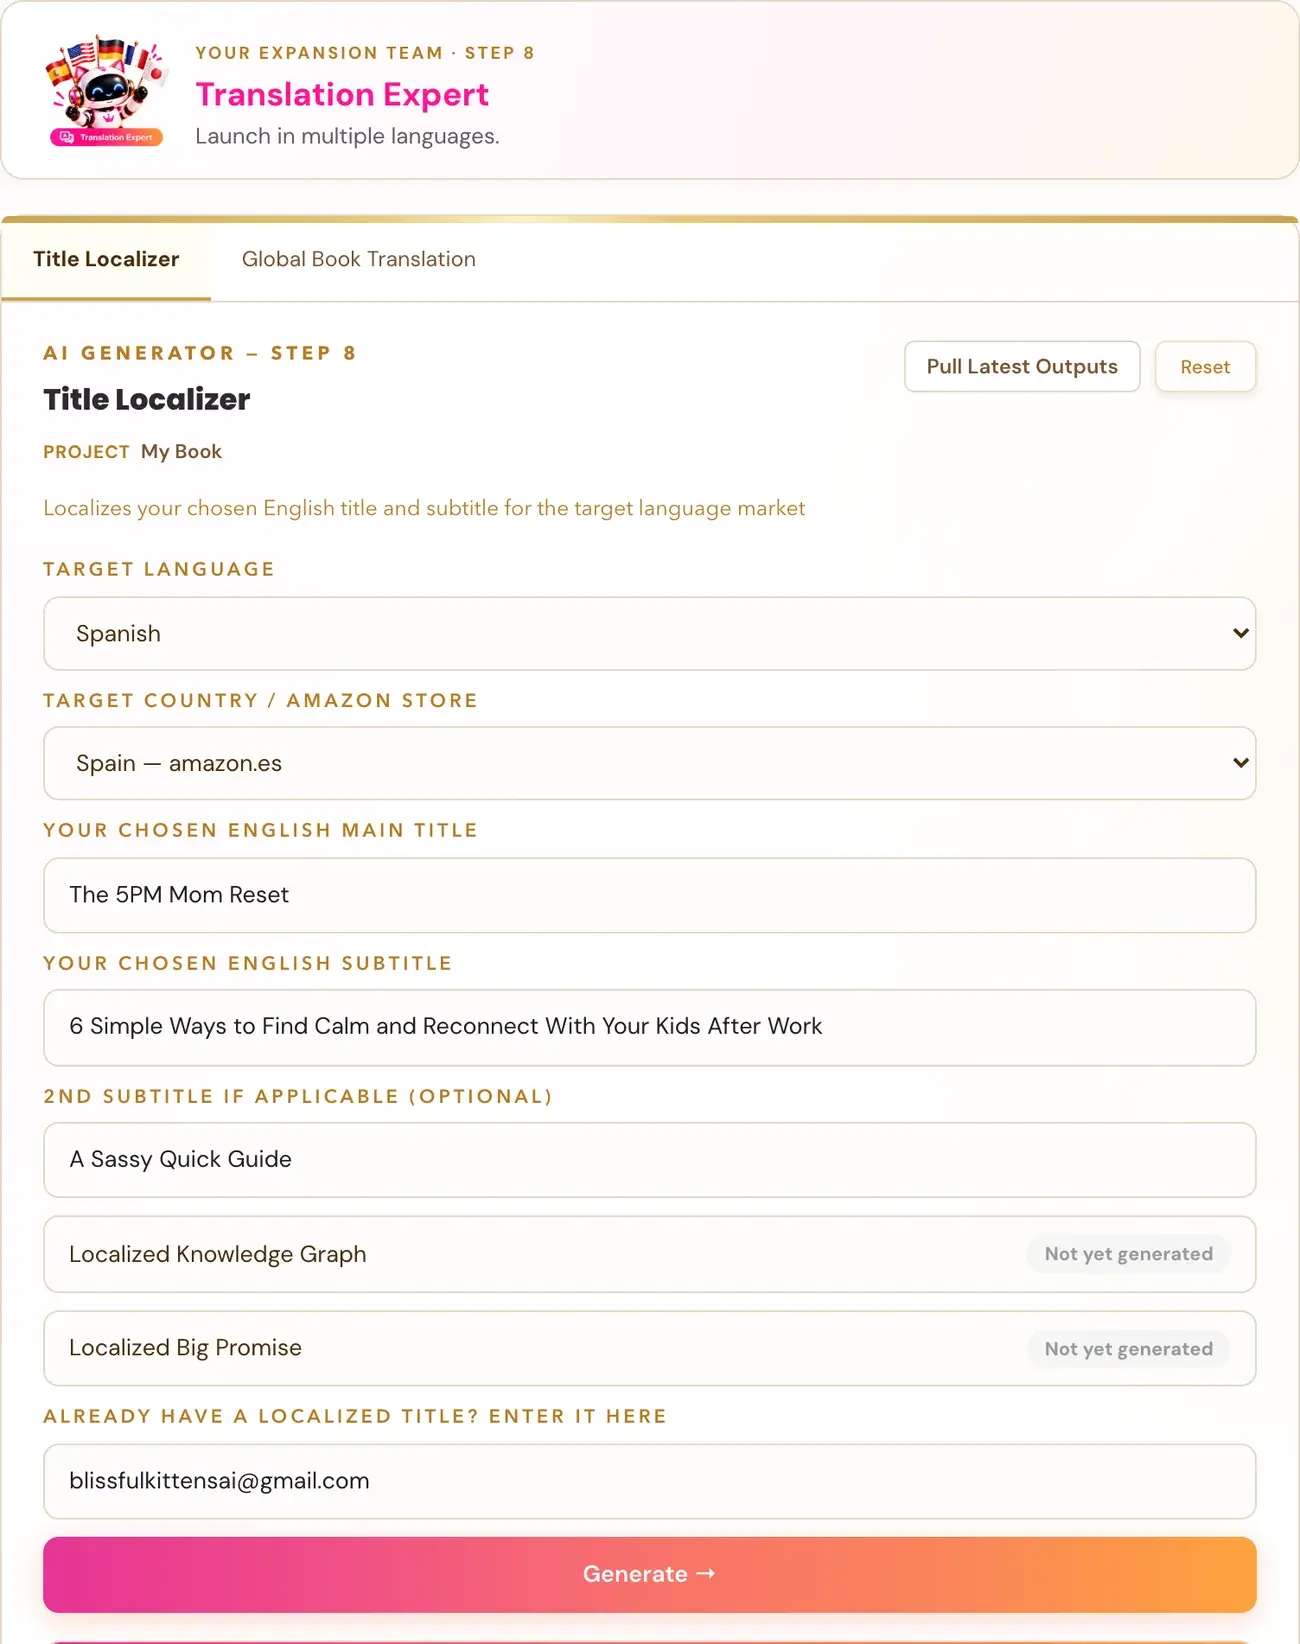
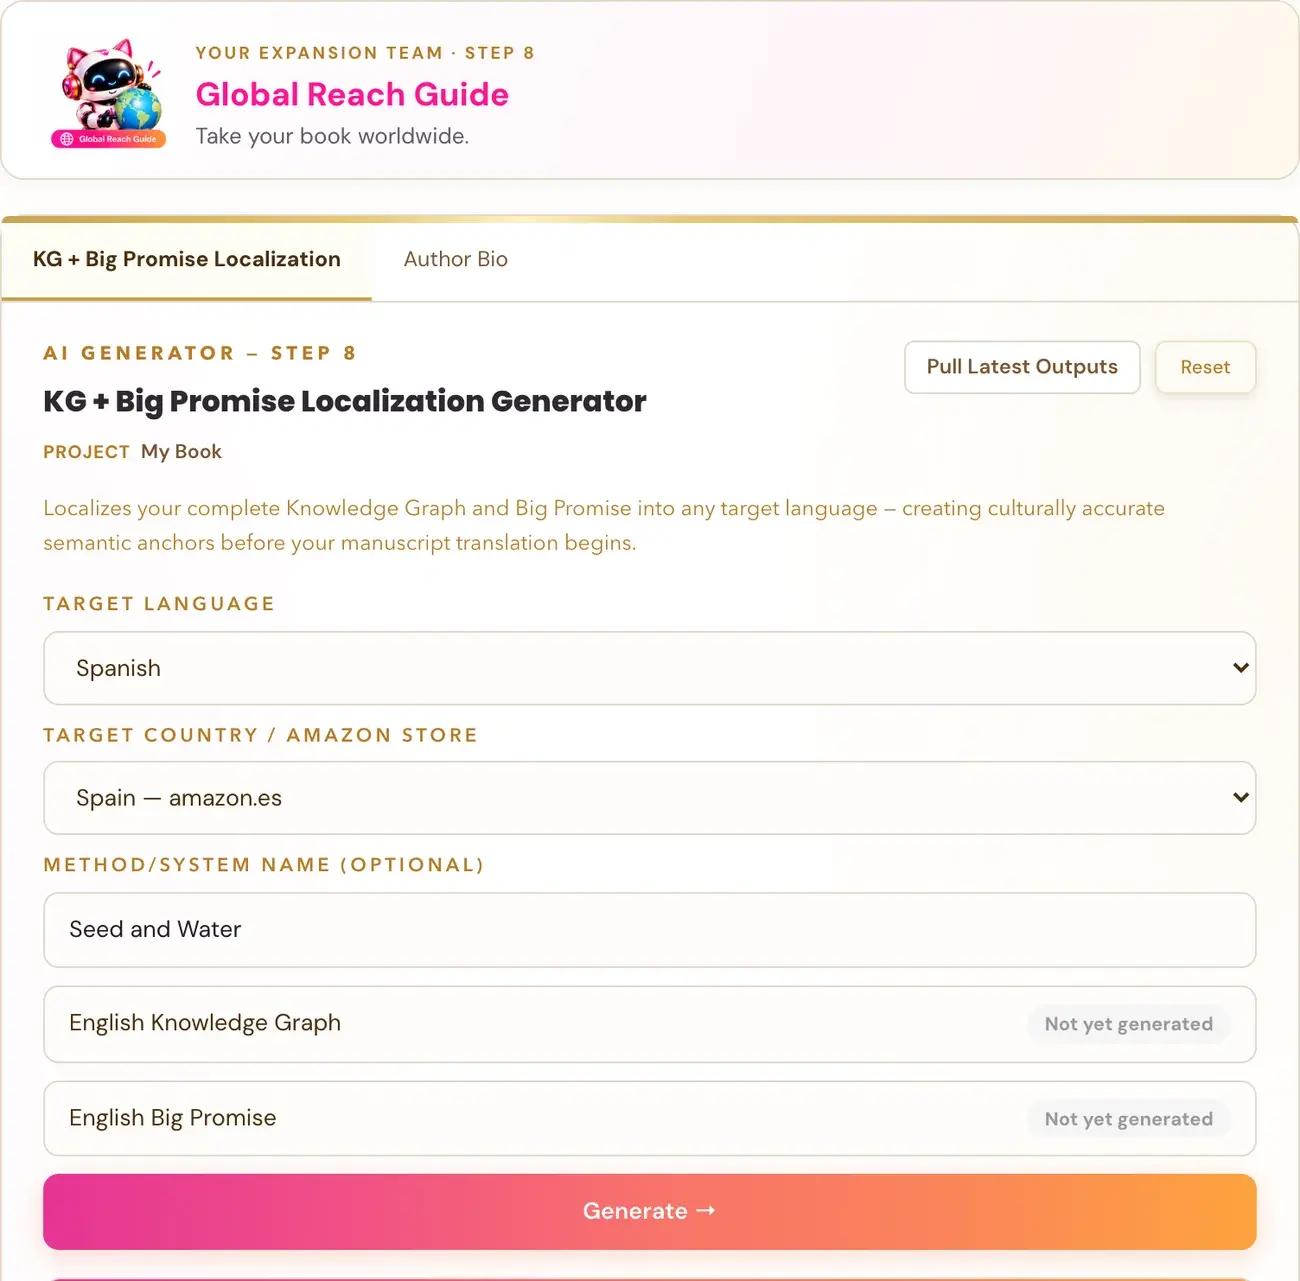
- Run the Title Localizer and choose your title for the new country.
- Open the Global Book Translator and pick your book.
- Choose the Target Language and Target Country / Amazon Store.
- Click Translate Book and keep the page open.
- Review the Translator's Notes, and use Change this to fix any choice you disagree with.
- Click Push Translation to Writing Studio to get your new, fully formatted book.
You write the book. The translator adapts it the way a real native speaker in that country would say it, and a qualified bilingual editor is the final publication review.
Full Guide
Before you begin: what you need
Your finished English book. The Global Book Translator takes an already-finished English book and launches it in another Amazon marketplace, which means a different language and country. It lives in Step 8 · EXPAND, Lesson 3, on the second tab. You can also reach it by clicking Generate on a language in the Translations button of any book in My Books. See What is the Translations button on my book in My Books?.
Your own Gemini key. Full-book translation requires a personal Gemini connection. Connecting a key is super easy, takes only a few seconds, and the app guides you through it step by step. Using your own key is free or minimal in cost. If Google reports a quota limit, your saved translation progress can resume when quota is available. See How do I connect my AI key? and What does my AI key cost?.
Cloud storage, only for an outside file. Import External Book requires connecting a personal cloud storage account first: Google Drive, Dropbox or OneDrive. You connect it once and it is remembered for every future import anywhere in the app. See How do I connect cloud storage?.
Step 1: Localize your title first
A translated book gets its own title decision. Go to Lesson 3 of Step 8 and open the main tab, the Title Localizer. Choose the target language and the Amazon store, enter the English main title and subtitle you chose, and click Generate. You get two options, each with its meaning shown back in English in brackets. Click Use this title on your choice. The full walk-through is in How does the Title Localizer work?.
This step is required. In the translator, Translate Book stays disabled, with an on-screen explanation, until a Title Localizer result exists for that same language. Your original English title and the Title Localizer choice are two separate decisions, so the translator never silently falls back to a generic re-translated title.
Step 2: Choose the book to translate
Open the second tab, Global Book Translation. You see two options:
- Choose from your Books. Pick any book already in My Books.
- Import External Book. Bring in a new Word (.docx) or ePub (.epub) file right here, using the same import as My Books. This requires connecting your personal cloud storage first.
Step 3: Choose the language and country
Pick the Target Language. The list has Spanish, German, French, Italian, Portuguese and Japanese. Then pick the Target Country / Amazon Store. Only the real Amazon marketplaces that serve your chosen language are shown. For example, Spanish shows only Spain (amazon.es) and Mexico (amazon.com.mx), and Portuguese shows only Brazil, because Amazon has no separate Portugal store.
This happens right after picking the book, before anything is generated, because the register (formal or informal) and vocabulary decisions depend on which country's readers the book is for. Spain Spanish and Mexico Spanish are not interchangeable.
If the country you want is not listed for a language, Amazon does not currently operate a distinct store there for that language.
Step 4: Protect the words that must stay in English
The Do Not Translate List holds the terms that must stay unchanged. These are the terms you see later in the Translator's Notes as kept in English on purpose.
Step 5: Check the localized title
You see Localized Title (from Title Localizer) with your Main Title and Subtitle. They fill in from whatever you chose in the Title Localizer for that language. If they are missing, click Pull Latest Translocated Title. Use the chosen title for the same locale. Changing the source or the locale may require new work.
Step 6: Click Translate Book
Click Translate Book. This analyzes the book, reviews localization choices, then translates and edits it in saved parts. Keep the page open while it runs.
In the stages behind that button:
- The app analyzes the book's voice, recurring terms, idioms and cultural references, and creates a language-specific brief.
- It translates manageable parts, with a separate AI editorial review.
- It saves completed work along the way.
- In the final editorial stage, it compares every saved source and draft pair in a final bilingual edit, using one shared style sheet. It finishes with a combined heading and notes consistency check.
The translator preserves facts, negation, numbers, names, gender-neutral meaning and voice. Adaptation is not permission to invent facts.
The translator runs in your browser. It is not a background job guaranteed to run after you close the page. If you want to pause on purpose, click Pause after saving this part.
The translated text is not shown on this page. You see the real, formatted book once you push it to Writing Studio in Step 9.
Step 7: Review the Translator's Notes
When the translation finishes, your Translator's Notes appear. They show exactly how the book was localized:
- The register decision: which "you" form was used and why.
- Any terms kept in English on purpose.
- The core vocabulary translation choices.
- A glossary of idioms and wordplay, with how each was localized.
- Chapter by chapter, the translated titles and any notes worth flagging.
The notes explain register, protected terms and localization choices in English, and the localized examples stay in the target language.
Step 8: Fix a choice with Change this
Every decision shown in the Translator's Notes has a small Change this button next to it. This is for you if you speak the target language and disagree with a specific choice. For example, "this should be the formal form, not informal", or "this phrase should have been translated, not left in English". Click it, type the correction in plain language, and click Apply Correction. Only the specific spots the correction touches are changed. The whole book is not translated again. The full explanation is in What are Translator's Notes and how do I use Change this?.
You can make corrections any time before you push to Writing Studio. The corrected Translator's Notes carry through into the pushed book.
Step 9: Push the translation into the Writing Studio
Click Push Translation to Writing Studio when you are satisfied. The app then:
- Creates the real, fully formatted translated book in My Books, tagged as a translation of the original.
- Automatically translates the front matter (title page, dedication, disclaimer and so on) to match.
Review the formatted translated book in the Writing Studio. A translation is a real, full, independent book in every way, just tagged as a translation of the original.
Step 10: Ask a qualified bilingual editor to check it
A qualified bilingual editor is the final publication review. The completion notice is not human certification or a print-layout check. Check whole-book consistency, omissions, punctuation, headings and export layout before publishing. Review flagged author decisions, the final export and any specialist or idiomatic wording.
Troubleshooting
Translate Book is greyed out. The Global Book Translator requires a Title Localizer result for that exact target language first. Run the Title Localizer for that language, then come back. It should auto-fill, or use Pull Latest Translocated Title if it does not.
I see a 502 or another temporary error. Keep the translation page open, wait about a minute, and click Retry beside the error on the same translation. Retry reuses saved work and resumes the unfinished part. It does not restart the whole book. See What do I do when a translation stops or shows a 502 error?.
I left the page in the middle. Return to the Global Book Translator, let your saved progress load, and use Retry there.
I see a Gemini key or quota message. Follow that message first. A 502 on its own does not mean you need to buy credit.
I changed my book after the translation started. The app may require a fresh translation, to avoid combining different source versions.
My Change this correction did not seem to change anything. If nothing in the book was affected by a correction, it is normal for nothing to visibly change. The system correctly recognized nothing needed fixing in that spot.
I lost the review page after refreshing. The last translation review is saved automatically and reloads on its own when you come back to this tab.
Where to Go Next
Next, continue with the localization lessons in Step 8 and the Amazon Ads Translation Generator. To make the book into audio, see How to Create an Audiobook. Not sure where to start? The Course Coach inside the app guides you through each step, so you are never stuck on a button.
Related Tutorials
Last checked in the app: October 14, 2026.
Still Need Help?
Inside the app, the Course Coach answers your questions and guides you step by step. You can also write to us and we will get back to you.
Contact Support